

Shopware Custom Rules and Custom Fields — Where They Intersect
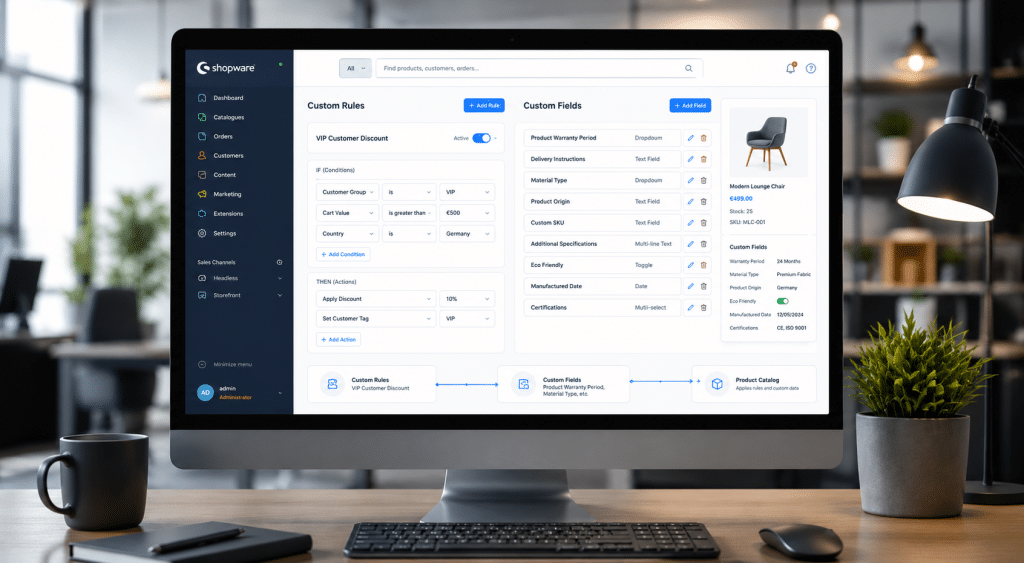
Shopware custom rules are a separate but related concept worth understanding in context. While custom fields store data on entities, custom rules use that data (and other conditions) to drive business logic — pricing rules, shipping restrictions, product visibility, and more.
A common pattern in Shopware plugin development services work is combining the two: store a custom attribute on a customer entity via custom fields, then reference that attribute in a custom rule to control pricing or checkout behavior. The RuleScope gives you access to entity data at rule evaluation time.
Shopware 6 Custom Fields Tutorial — Common Mistakes to Avoid

After working through the implementation, here are the issues that come up most often:
- Missing Migration: Adding custom fields without creating the
custom_fieldsJSON column causes runtime errors. - Definition & Migration Sync: Entity definition and database migration must always match.
- Missing Field Set: Custom fields won’t appear in the admin panel unless a custom field set is created.
- Incorrect Field Type: The custom field type must match the stored value (e.g., INT for numbers, STRING for text).
- No Null Checks: Custom field sets can be deleted by admins, so always check if a field exists before accessing it.
- Admin Editing Issue: Without a proper field set definition, custom fields can only be managed via code.


